Attaching a digital camera to a telescope
There are different camera types, and each also needs its own adapter if we want to connect them to a telescope. But with one type, it's simple.
Which cameras are best for photography using a telescope?
Both compact digital cameras and single-lens reflex cameras can be connected to a telescope with the appropriate adapters, in order to "shoot" photos through a telescope. Compact cameras have a role to play in photographing the brighter objects such as the Moon, the Sun (only with a filter!) and planets.
A compact camera is attached with its lens close to the telescope’s eyepiece. An eyepiece is always needed if you want to photograph using a camera whose lens cannot be removed, otherwise, you would not be able to create an image.
This type of photography is referred to in the industry as afocal photography.
If you can’t afford a single-lens reflex camera, you can also get some nice results with a compact camera. The big advantage of this type of camera is that it is often more affordable than an SLR camera. When buying the camera, however, you should make sure that it also has a manual mode, as it’s useful to be able to switch off the flash and the other automatic functions. The previously described uncompressed image format is also important.
If you want to get started with this type of astrophotography, a good choice for your first object is the Moon, as you will get some nice results. To do this, it is best to photograph the Moon when it is in its crescent phase. The Sun illuminates the surface from one side and create a beautiful, almost three-dimensional effect with the craters’ shadows. You need to experiment a little with the exposure times. Therefore, it is best to take a whole series of images with shorter and longer exposures. In this way, you will find out which exposure time works best.
Focusing is always a challenge for photography through a telescope. However, with a compact camera, you can focus using the live image on the LCD screen, which is very helpful. The optimal focus is reached at a specific point, which, especially with an object as bright as the Moon, you will find by adjusting the eyepiece focuser.
It is important to remember that you cannot simply press the button to release the shutter and start the exposure. The best results are obtained where a remote shutter release can be connected to the camera. This is because then you do not touch the camera and the telescope, so there are no vibrations that would blur the image. If you cannot attach a remote shutter release, you can instead use the timer function.
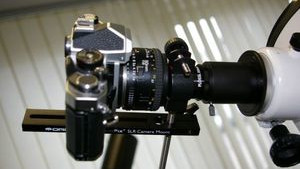
How do you connect a compact camera to the telescope?
Connecting a compact camera to a telescope is not a big problem. There are various adapters that manage this task very well.
Connecting with a universal camera adapter
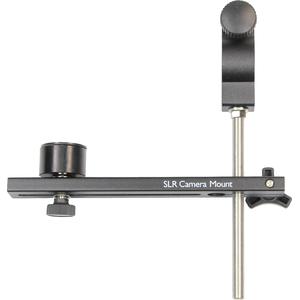
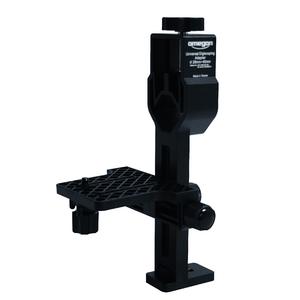
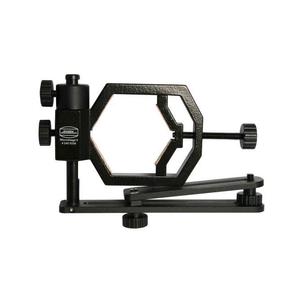
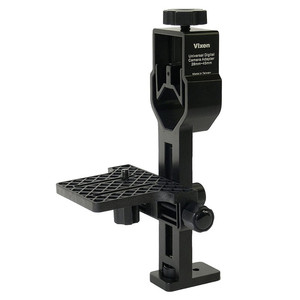
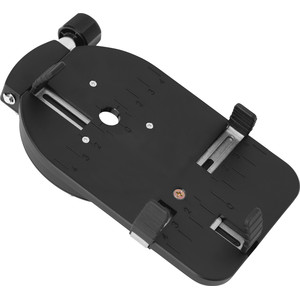
The easiest way to connect a camera is to use a universal camera adapter that can connect to most of the camera models available on the market. The camera body is first connected to a plate or a rail and locked into place with an integrated ¼” screw. You can usually move the camera back and forth using adjusting screws. The camera is now firmly attached.
This combination must now be connected to the telescope. For this purpose, the adapter has a clamping device which should close around the eyepiece, which is attached to the telescope focuser. This clamping device can be adjusted with a large screw.
Now you should make sure that the camera is directly in front of the eyepiece. If necessary, you will need to adjust the camera until this is the case. Vignetting may occur when photographing through the eyepiece. This refers to a shadowing effect at the edges of the image. To avoid this, do not use an eyepiece with too short a focal length. If you use Plössl eyepieces, focal lengths below 12.5mm are not particularly recommended. If necessary, you can use the camera’s digital zoom.
Attaching the camera with an adapter ring
Another method of attaching the camera is by using the filter thread. Beware: not all cameras have a filter thread; if this is the case then there is no other option than the one described above. Such a thread can usually be found in the slightly larger compact cameras. All you have to do is take a look at the lens to check if it's there.
At the edge you should see a fine internal thread of a certain diameter. This thread diameter can be quite different from camera to camera, so there is no standard adaption solution. You often have to work with several adapters in order to get the correct fit.
Planetary photography with ordinary digital cameras
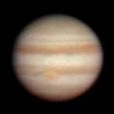 Jupiter through an Olympus Camedia 3030
Image: Reinhard Lehmann
Jupiter through an Olympus Camedia 3030
Image: Reinhard LehmannWhen concentrating on distant objects, you can sometimes forget what is so close by: the planets. Here too, some very nice pictures are possible. Where previously amateurs could only manage blurred planetary photos, the quality achievable today is quite different. Why this is the case will be explained a little later. First of all is the question: what are the general options available to take planetary photographs?
Three different types of cameras are available for this purpose:
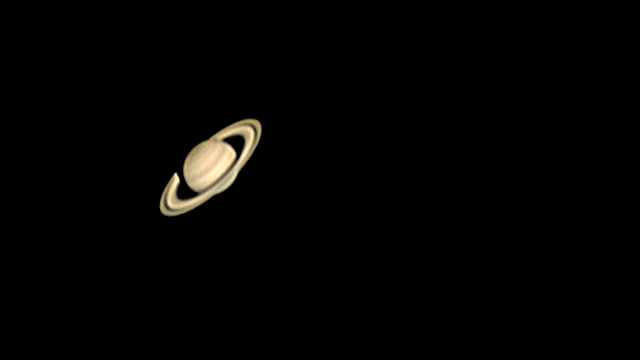
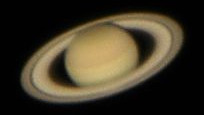 Saturn through a Camedia 3030
Image: Reinhard Lehmann
Saturn through a Camedia 3030
Image: Reinhard Lehmann- Compact digital cameras
- Digital SLR cameras
- Webcams or similar cameras
With a compact camera, where the lens is not removable, you can take beautiful images of the Moon, and aesthetic shots. You can also try out planetary photography. To do this, a very short focal length eyepiece must be used in order to be able to enlarge the image to such an extent that details can be distinguished.
The easiest way to attach such a camera is by using a universal adapter. You should also make sure that the camera can be operated manually for planetary photography. This means manual focus and exposure times, and disabled flash. Shadowing problems are not significant for planetary observation, since the target planet is anyway relatively small compared to the field of view. So you can use the camera's zoom as much as possible. However, you should not use the digital zoom, because it offers no improvement in image quality, just a section with fewer pixels.
Camera and smartphone adapters
